GETTING STARTED
Upload & data import
Import nutrition, exercise, and biometric data from the apps supported by Fuel Lens.
Open the upload page in Fuel Lens ↗
Supported apps
The uploader accepts individual files or a folder containing several export files. It reads .csv, .xlsx, .xls, and .pdf files, then checks their contents before importing them.
Cronometer
Cronometer exports four CSV reports. Upload whichever reports you need; uploading all four gives Fuel Lens the most complete dataset.
| File | Data imported | Accepted names |
|---|---|---|
| Daily Nutrition Summary | Daily nutrient totals | dailysummary.csv, nutrition_summary.csv, daily nutrition summary.csv, tages-ernaehrungs-uebersicht.csv |
| Servings | Individual foods and their nutrients | servings.csv, portions.csv, food log.csv |
| Exercises | Exercise sessions, duration, and calories | exercises.csv, workouts.csv |
| Biometrics | Weight, body measurements, and other biometric readings | biometrics.csv, biometrie.csv |
How to get Cronometer files
- Open Cronometer in a desktop browser and sign in.
- Open Account and choose Export Data.
- Download the reports above as CSV files. Keep their original filenames when possible, because the names help automatic detection.
- Upload the files to Fuel Lens. You can select all four files together or upload the export folder.
FatSecret
Fuel Lens supports two ways to import FatSecret data:
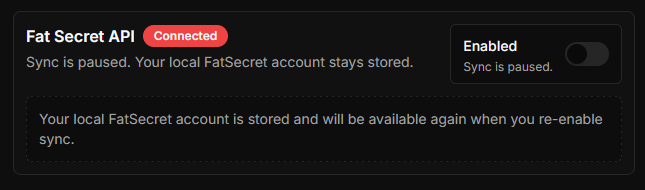
You have two options: API (Recommended) or Manual Upload
API (Recommended)
Connect FatSecret through the Fat Secret API panel on the upload page. The connection uses FatSecret authorization and can synchronize the food diary, exercise, weight, and biometric data.
- Open the upload page and enable FatSecret sync.
- Select Connect / Reconnect and complete the FatSecret authorization in the new page or tab.
- Return to Fuel Lens and choose Sync now. The connection and last-sync status are shown in the panel.
- Use Disconnect if you want to remove the locally stored FatSecret connection.
The API connector must be configured by the Fuel Lens deployment with a FatSecret consumer key and consumer secret. If the panel says that FatSecret is not configured, an administrator must set FATSECRET_CONSUMER_KEY and FATSECRET_CONSUMER_SECRET on the server.
Manual Upload
Export a detailed FatSecret food diary as a CSV file and upload it to Fuel Lens. The file should contain dated foods, meals, and nutrient values; the importer creates serving and daily-summary data from the diary.
- Sign in to FatSecret on the web.
- Open your food diary and choose the option to export or download the detailed diary/report.
- Choose CSV format if FatSecret offers multiple formats.
- Upload the downloaded food-diary CSV. A filename containing
FatSecretorfood diaryhelps automatic detection; the file contents are also checked.
API sync and CSV upload are separate options.
MyFitnessPal
Fuel Lens supports these MyFitnessPal export formats:
- Data-request files: MyFitnessPal sends a ZIP archive containing CSV files for nutrition, progress, and exercise after a data request. Extract the ZIP before uploading the CSV files. If a file is not recognized automatically, assign it to the matching Cronometer data type in the uploader.
- Workbook export:
.xlsxor.xls, if your MyFitnessPal account provides this format. The workbook may contain foods, daily nutrition totals, exercise, measurements, steps, and water. Password-protected workbooks are supported through the password prompt in the app. - Printable diary:
.pdf. The PDF should be a MyFitnessPal diary or print report containing dated food or exercise entries. Text PDFs are preferred; scanned PDFs can be read with OCR when possible.
MyFitnessPal workbooks can be password protected; the importer opens an in-app password prompt and uses the password only for that import attempt. MyFitnessPal measurements and steps are imported as biometric records where the export provides them.
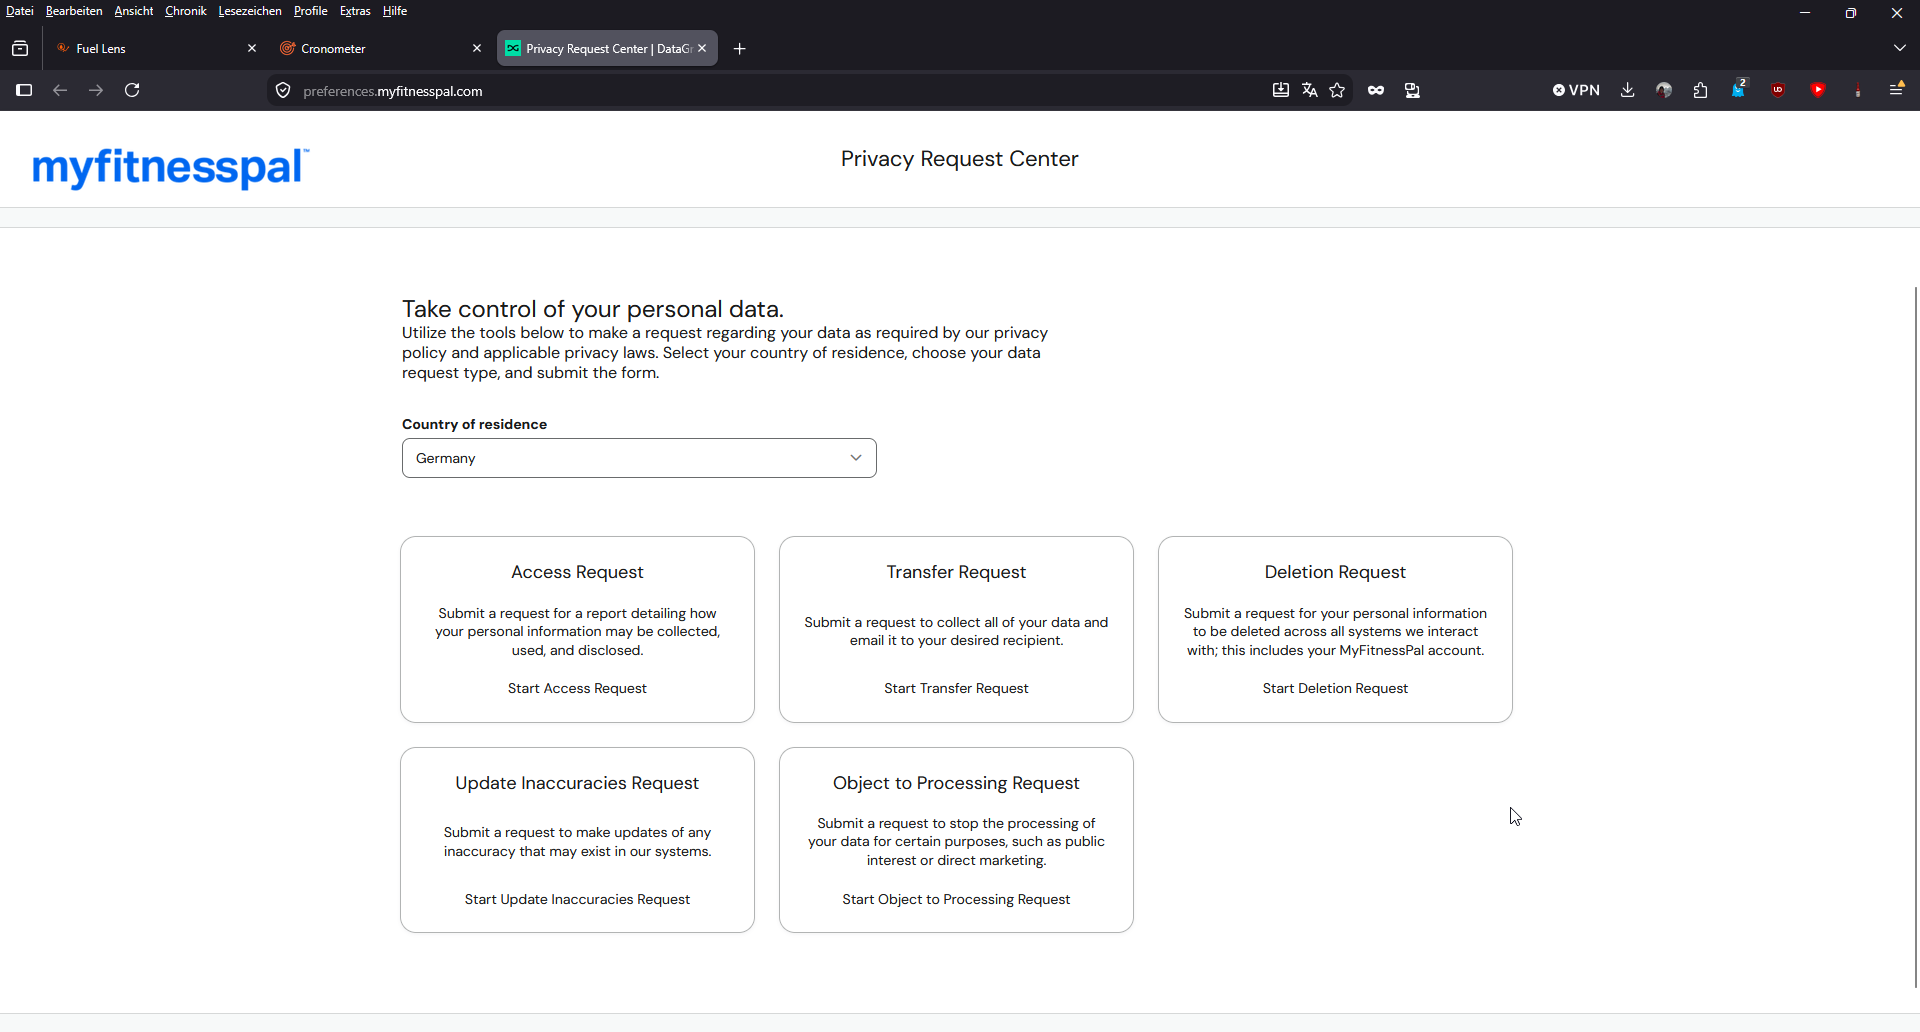
How to request MyFitnessPal data
The preferred way to obtain a complete MyFitnessPal export is through the MyFitnessPal Privacy Request Center:
- Open the Privacy Request Center.
- Click Data request.
- Complete the form. For Data subject's relationship with MyFitnessPal customer, select MyFitnessPal customer.
- Submit the request.
- Wait for the email from MyFitnessPal. It contains an encrypted Excel file and the password needed to open it.
- Download the Excel file and enter the password when prompted during import.
The Privacy Request Center is the preferred way to obtain the files because it provides the most complete export. The response email contains an encrypted Excel file and the password required to open it.
As an alternative, you can use Print Report from the MyFitnessPal diary or reports area. Set the required date range and save or print the report as a PDF, then upload the resulting file. This report does not contain all available MyFitnessPal data, so use the Privacy Request Center when possible.
MyFitnessPal export menus can differ by account, region, and subscription. If an export contains several files, upload the complete folder so no date or data part is missed.
How to upload the files
- Open the upload page.
- Drag the files or their export folder into the upload area, or choose Browse.
- Wait for the file previews and import confirmation. Unknown files can be assigned a CSV data type when the format matches one of the Cronometer reports.
- Upload additional reports later if needed. New data is merged with the data already loaded in the browser.
If a file is rejected, check that it is the original export and not a screenshot, renamed document, or spreadsheet saved in a different format. For MyFitnessPal workbooks, enter the workbook password when prompted.
Privacy
Parsing and analysis run in the browser. Uploaded nutrition and biometric data is not sent to a production backend.
Related guides
Continue with these connected Fuel Lens guides.